Spoon Corn Cake

Spoon Corn Cake


Two Choices:
 
 
Choice One:
1 box Jiffy Cornbread Mix
1 box Jiffy Yellow Cake Mix
1 can cream style corn
1/4 cup water
1/2 stick butter, softened
2 large eggs
1/3 cup milk


Choice Two:
2 boxes Jiffy Cornbread Mix
1 box Duncan Hines Butter Golden Cake Mix
2 cans cream style corn
1/2 cup water
1 stick butter softened
5 large eggs
2/3 cup milk


1. Combine boxes of mix in large mixing bowl.
2. Mix all ingredients with mixer or in Kitchen Aid type of bowl/mixer.
3. Pour into 8 x 8 for top recipe or 9 x 13 baking pan spayed with non-stick cooking spray.
4. Bake 20 to 25 mins for 8 x 8 and 32 to 36 mins for 9 x 13 in preheated 350 degree oven, uncovered.


Popular Cheese Ball

Popular Cheese Ball


4 ounces shredded cheddar cheese

8 oz cream cheese

1 jar Kraft Old English cheese spread

1/4 tsp parsley

1/4 tsp onion salt

1/8 tsp garlic powder

1/2 tsp worcestershire sauce

1/2 green pepper chopped finely (or more or less)

a few green onions chopped finely (or more or less)

1. Cream the cream cheese in mixer. 

2. Add Old English cheese spread and mix it.

3. Add all seasonings and chopped veggies.

4. Add shredded cheese and mix until shape-able.

5. You can shape now if not too soft or refrigerate and shape later and roll in nuts or bacon bits or ham bits. 


People LOVE this cheeseball!


Save

Scotcharoos

Scotcharoos

6 cups of Rice Krispies
1 C light karo syrup
1 C sugar
1 1/2 C peanut butter
6 oz. butterscotch chips
6 oz. chocolate chips
1. Pour Rice Krispies into large pan.
2. In saucepan, mix Karo and sugar. Bring just barely to a boil, stirring constantly. 
3. When it just starts to boil, add peanut butter and mix it in.
4. Take mixture off the heat and pour over Rice Krispies. Mix together.
5. Spray 9 x 13 baking dish with cooking spray.
6. Press mixture into pan, but do not pack down too hard.
7. Melt chocolate chips and butterscotch chips on medium heat in microwave, stirring every thirty seconds. Do not overheat!
8. Spread melted chips over bars. 
9. Cool and cut.
Peanut Blossom (“Kiss”) Cookies

Peanut Blossom (“Kiss”) Cookies

These are better than your average peanut butter cookie. We prefer the milk chocolate taste of stars on them rather than kisses. These go quickly on holiday trays.

5 ¼ cups flour 1 ½ cups peanut butter

3 tsp soda 3 eggs

1 ½ tsp salt 6 TBSP milk

1 ½ cups sugar 3 tsp vanilla

1 ½ cups brown sugar, packed 3 pkgs Hershey’s kisses or stars

1 ½ cups shortening/butter (we use ½ Crisco and half real butter)

1. Cream butter, shortening, brown sugar, and white sugar.

2. Whisk eggs.

3. Mix milk, eggs, and vanilla in separate bowl.

4. Pour milk mixture into creamed mixture, and mix.

5. Combine remaining ingredients (except kisses) in another mixing bowl.

6. Add to mixing ingredients until well blended.

7. Shape dough into balls, using a rounded teaspoon for each.

8. Roll balls in sugar and place on ungreased cookie sheets.

9. Bake for 8-11 minutes convection; 10-13 regular.

10. Top each cookie immediately with a kiss, pressing down firmly so cookie cracks around the edge.

Graduation Time: Butterfinger Dessert

Graduation Time: Butterfinger Dessert

It’s graduation time around here again! Sixth graduate from Training for Triumph Family Academy in twelve years–with only one to go as of a couple of weeks from now! While graduation is a lot of stress and work, it is also a joyful time as we reminisce, put together photograph slide shows, work on scrapbooks, plan the graduate’s favorite foods for his party, and just celebrate the wonderful person that the graduate is!

I am using Pinterest to start collecting and organizing my recipes. We always use a lot of tried and true favorites to start with then add to the menu. This year Josiah wants a Nacho Bar/Taco Salad Bar, and I am all for that because it is easier than making up individual sandwiches, potatoes, side dishes, etc. Get it all ready and put it out for everybody to build their own! I will post my meat recipes for that as it gets closer.

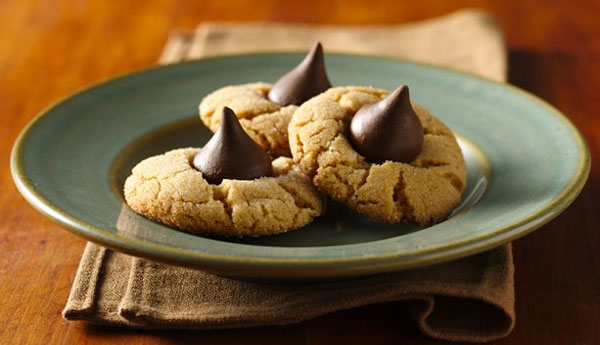
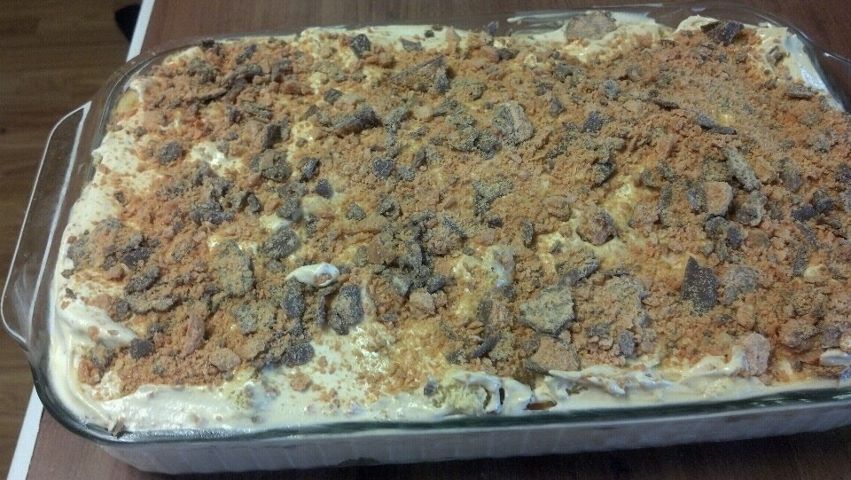
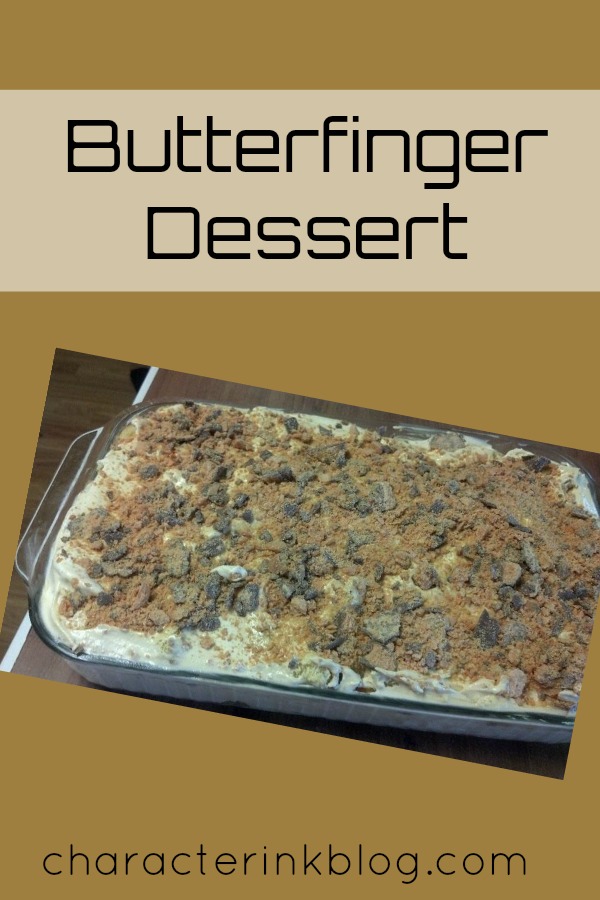
In the meantime, here is one of the desserts we will have there–assuming it tastes as good as it looks. (We are testing it out at our ballroom dance tonight!) It is super easy, and we can make it in little individual plastic cups/bowls to put on the dessert table, which is super fun to create.

I got the recipe from Key Ingredient, and it was low fat and low sugar. I like to serve the real thing when I have parties or take things to events, assuming that the people there want something that looks ooey, gooey, and yummy to taste ooey, gooey, and yummy too! 🙂 So here is my version of it.

12 oz prepared angel food cake, cut into 1″ cubes
3 small packages of butterscotch pudding, instant
4 cups milk
1 (16 oz) tub of whipped topping, thawed in fridge
18 fun sized Butterfinger candy bars, chopped (sons like to do this with a mallet in a zip lock bag)

1. Prepare pudding with milk and refrigerate for at least fifteen minutes (longer is fine).

2. Spray 9 x 13 glass baking dish with cooking spray and sprinkle half of the angel food cake cubes over the bottom of the pan. (Note: This is heaping for a 9 x 13 pan–do not plan to cover it. Next time, I might do a jelly roll or a 9 x 13 and an 8 x 8…. or at the very least use a deep foil pan if I don’t care about aescetics!)

3. Fold whipped topping into pudding with rubber spatula. (Do not use a mixer or whisk or your whipped topping may become liquid.)

4. Pour half of the whipped topping/pudding mixture over the angel food cake cubes.

5. Sprinkle half of the Butterfinger candy over the pudding mixture.

6. Repeat layers, ending with candy.

Pin It on Pinterest