by Donna | Mar 12, 2015
Hopefully, you have enjoyed the ease of my shredded chicken method! It is so simple to put chicken in the crock pot overnight or in the morning and come up with a speedy meal when it is done cooking. There are actually times in which I put the chicken in without even knowing for sure what I will do with it the next day since I know I have so many options that I can turn to at the last minute. (Plus, having it cooked forces me to do SOMETHING with it!) If nothing else, I can pour some bottled BBQ sauce over it and have BBQ chicken sandwiches!

Did you try the Arroz Con Pollo? Jonathan and his new bride are here for two weeks on spring break while Jonathan works at the factory and Maelynn does her junior practicum at a local middle school. I will probably be making that Arroz Con Pollo next week for them!
In addition to the BBQ chicken mentioned above, when all else fails, I know I can pull out some chicken broth, enrich it with chicken base (always!), boil some packaged noodles in the broth, and come up with a pot of chicken noodle soup in no time flat. Here is how I do that quickly.
(more…)
by Donna | Feb 21, 2015

I have been working on recipes for my newlyweds–Jonathan and Maelynn (son and daughter-in-law married in August 2014) and Will and Kara (daughter and son-in-law married in January 2015). I like to categorize my recipes just like I have done with all of my mega-cooking/freezer cooking recipes for the past twenty-five years…according to type of meat/main ingredients. For freezer cooking, this is ideal because I can cook up twenty, thirty, or forty pounds of that type of meat and put a lot of entrees together quickly.
(more…)
by Donna | Dec 7, 2014

My pasta, lasagna, wrap problems have been solved! DJ Foodie from Low Carb and Loving It recommended using crepes for lasagna and wrap substitutes, and I took his advice–now I always have a container full of savory and a container full of sweet crepes in my freezer, ready to make wraps, lasagna, noodle soup, noodles with sauce (red or white), tuna noodle casserole….you name it, I can make it–VERY LOW CARB!
(more…)

by Donna | Jan 22, 2014
 |
| Cooking day! |
When a person asks me to help them get started in freezer cooking, I am always anxious to offer advice and help because I know how much it has helped me, blessed others, and nourished my family for the past twenty-three years. As I stated earlier on the blog, my first piece of advice is to not make it bigger than it needs to be. Freezer cooking doesn’t have to be this all-encompassing way of life that is so huge you can’t bear to face cooking day. On the other hand, if you like to go big (which I always have!), then by all means, go big.
The next piece of advice in starting to freezer cook is to determine what kind of freezer cook you want to be–that is, how extensive do you want to cook freezer entrees vs. just regular daily food preparation. By this, I mean that you can literally do something as simple as double a casserole one night each week to stockpile a few freezer entrees each month–or you can use the elaborate six month system that I used to use when my children were all at home. And then, of course, everything in between.
Here are some options for the “type” of freezer cook you might desire to be:
1. The aforementioned “extra casserole” each week cook. In this way, you eat like you normally have, cooking from scratch or using convenience foods each day, but one day a week, you make an entree for your family’s meal and freeze a second one of the same type. In this way, you end up with a few freezer entrees each month to grab and use as you need to. It is also super simple to just double whatever you are making. It truly takes maybe 25% more time to make an additional one as opposed to making one to begin with. This might be a good choice for someone who doesn’t want to do much but wants to dabble in freezer cooking and also wants to have some entrees on hand to bless others. (Blessing/helping others has been one of the biggest benefits of freezer cooking for me over the past two decades.)
2. The “ten pounds of meat” a week method. This is the method I am currently using, and I just love it. One day a week, my teenage son and another teen and I have a three hour Kitchen Session in which we do the following:
a. Ten pounds of some meat made into entrees (Today was taco meat; the last time it was braised beef cube mix for stroganoff and/or beef stew; before that it was spaghetti pies.)
b. Meal for that day (Today was sloppy joes and smashed red potatoes.)
c. Fill at least one crock pot insert for another meal over the next few days (usually soups and stews) (Today was chicken casserole in the crock.)
d. Clean/dice/prepare fruits and veggies
e. Make something special, like a cake for a carry in or bars for a dance or breakfast casseroles for a shower, etc.
3. The “once a month cooking” method. My first introduction to freezer cooking was via the book Make a Mix Cookery. I began making mixes with this book twenty-three years ago (when I was pregnant with our fourth/middle child). I made “Bisquick,” brownie mixes, cake mixes, cookie dough, white sauce balls for the freezer, quick bread mixes, and much more. This book introduced me to freezer cooking through freezer meats (like taco meat, braised beef cube mix, master hamburger mix etc.) that you can pull out of the freezer and use in other recipes. It was and still is an amazing book that set me on the path to home management that would make me successful at feeding nine of us for many years–and that helped me help others and train my own children in hard work and kitchen preparations.
Following this book, after a year or two of doing freezer meats and mixes, I found the book that I used for several years–
Once a Month Cooking. It was one of the first of its kind, and while I wouldn’t want to use it today because my methods are much more efficient for us, it opened my eyes to the world of freezer cooking–and I embraced it whole heartedly, cooking for one day a month and putting up twenty entrees or so each time. In this book, you choose the recipes you want to make, the number of each, plan, shop, do preps, and then cook and freeze up to twenty entrees at one time–presumably for the next month.
When I first started using this method, I cooked two days one week (a day of preps then the next day cooking/freezing) and began using those meals immediately (about four per week). Then before those were gone, I did another cooking day and filled another freezer for the next month, etc. This book is a terrific resource for learning what freezes well and getting recipe ideas, as well as just getting an overview of freezer cooking in general.
Obviously, to do “once a month” cooking in a day (by yourself or with a partner or kids), you don’t have to follow this book. After a while of using this book, I moved on to my own style of “once a month cooking” in which I would do mostly one certain type of food (i.e. crumbled ground beef one month; shredded chicken the next). The problem with this is that if you are relying too much on your freezer meals, you end up eating the same type of meats that whole month. (See my solution below in my “six month cooking week.)
4. “Cycle cooking”–or “six month cooking week.”
The aforementioned “one type of meat per cooking day” led me to what I did for many years–a method that is not for the faint of heart! In this method, I divided my recipes into six “cycles”:
a. Shaped beef and other beef (meatloaves, meatballs, tuna balls, salmon loaves, swiss steak, Florida steak, braised beef cube mix/stroganoff)
b. Crumbled beef (spaghetti pie, sloppy joes, lasagna, taco meat, taco pie, hamburger stew, chili soup starter, etc.)
c. Shredded chicken (chicken rice soup starter, bbq shredded chicken, chicken tetrazinni, chicken spaghetti, chicken lasagna, hot chicken sandwich filling, chicken rice casserole, chicken enchiladas, etc.)
d. Chicken breasts (parmesan chicken breasts, grilled/marinated chicken breasts, chicken parmesan, oven fried chicken, chicken fajita meat, Oriental chicken, chicken cordon bleu, Monterey chicken breasts, bbq chicken breasts)
e. Sides (potato casserole, rice casserole, fried rice starter, mashed potatoes, broccoli and rice, four bean bake, green bean casserole, cauliflower au gratin)
f. Desserts (cookie dough, unbaked cakes, pies, quick breads, etc.)
In the “six month cooking week,” I started the process by shopping on Friday, preparing my bags and containers and labels on Saturday, and starting the cooking on Monday. I did about thirty entrees each day–one day shaped beef, one day crumbled beef, etc. I would fill one freezer with six months worth of freezer meals by the end of the week. It was exhausting (and at times overwhelming), but it was amazing to have that freezer full of meals.
Once that freezer was full, I just did regular freezer cooking one day a month–but I did a different cycle each time–and began filling up my other freezer. By the end of the six months, the first freezer full of meals was empty and the next one was full. It was my favorite system ever because it brought together the efficiency of freezer cooking with my super efficiency of cycle cooking–doing one type of meat at a time. (This system actually trained me to do the “ten pounds of meat a week” method I now use. Doing all of the same type of meat at one time is super efficient!)
5. “Power Hour” cooking
When I can’t have my three hour “Kitchen Session” as described above, I often opt for the “power hour” freezer cooking. In this method, my son and I (or my husband at times) go into the kitchen for one hour and do as much as we can possibly do–of all the same things. In this regard, we might make six lasagnas or ten bags of sloppy joes or ten bags of taco meat or eight bags of chicken rice soup starter. This method only works if you do it often though–otherwise, you end up eating the same thing over and over!
So what kind of freezer cook do you want to be? What would best meet your family’s needs? How do you cook–big or small? What feels right for you?
In starting out with freezer cooking, you can do whatever works for you! And you will bless your family and make your days run more smoothly in the process.
by Donna | Sep 13, 2013
 |
| Image from sonomatowns |
As we head into fall, I am saddened that I won’t be able to just walk out the back door and get Ray Baby’s veggies everyday! I am still heading out there often and getting a tomato here and a green pepper there–I haven’t given up completely. However, very soon that obscure tomato or tiny pepper will not even be there to pick. Sadness…
On the other hand, it is time to turn my attention to buying (and even harvesting in my “fall garden”) and preparing fall vegetables.
Here is a list of what I will be looking for to use in cooking low carb this fall:
1. Beets—very low carb, deep purple means very nutritious
2. Broccoli–very low carb and my sons like this veggie steamed with cheese, so that is a win-win
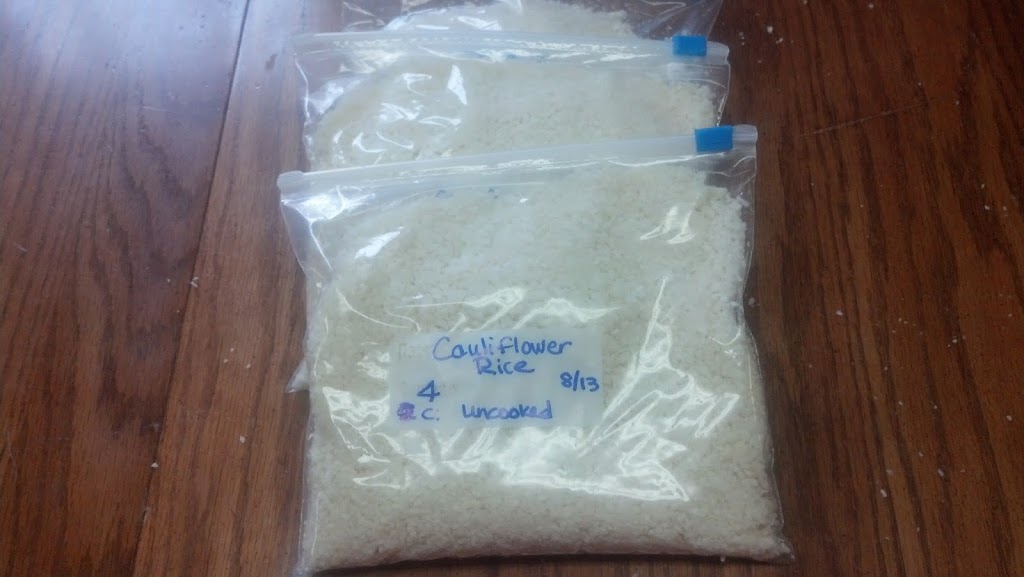
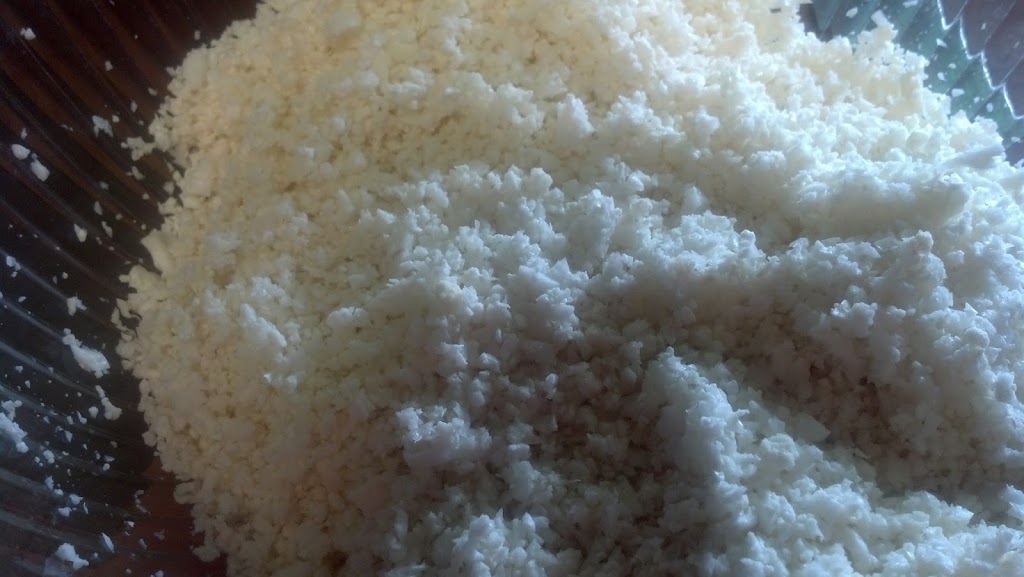
3. Cauliflower–low carb–plus I will use it for cauliflower pizza crust and cauliflower rice–and I will stir fry it along with broccoli and zucchini for oriental dishes as well as just for sides
4. Eggplant–I have never cooked with eggplant, but it is relatively low carb, deep purple for all of that nutrition–and I have some recipes pinned to try it out!
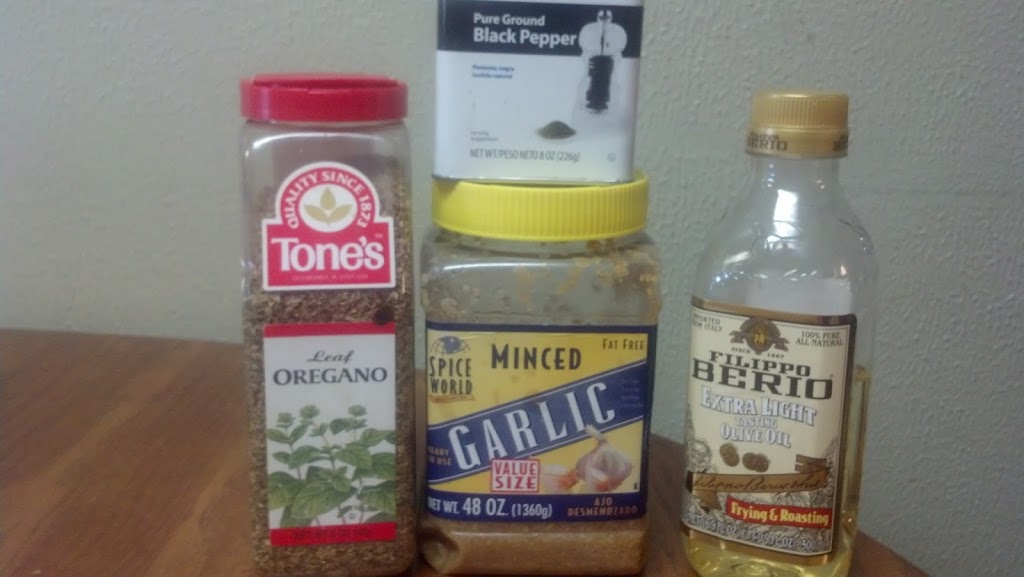
5. Garlic–I didn’t even know this was a fall vegetable, and I definitely use it year round. I know everybody loves fresh everything, but I couldn’t live without my jar of minced garlic in oil that I can dip into and get those aromatics going (along with onions and peppers) as the beginning of tons and tons of low carb veggies and stir fries.
6. Green beans–I have my fifteen year old watching his favorite show on Netflix this afternoon and snapping tons of green beans! I can use them so many way–I love putting them in the crock pot with potatoes and ham or sausage for my kids–then pulling out a heaping serving of just the green beans for Ray Baby!
7. Kale–I have some winter kale seeds that I am planting this weekend! Anxious to see if they really grow in the cold weather that the package says they will grow in. Ray enjoyed the kale chips I made him for a snack a few weeks ago–but kale is pricey, so if I can get this winter kale to grow, I will be excited!
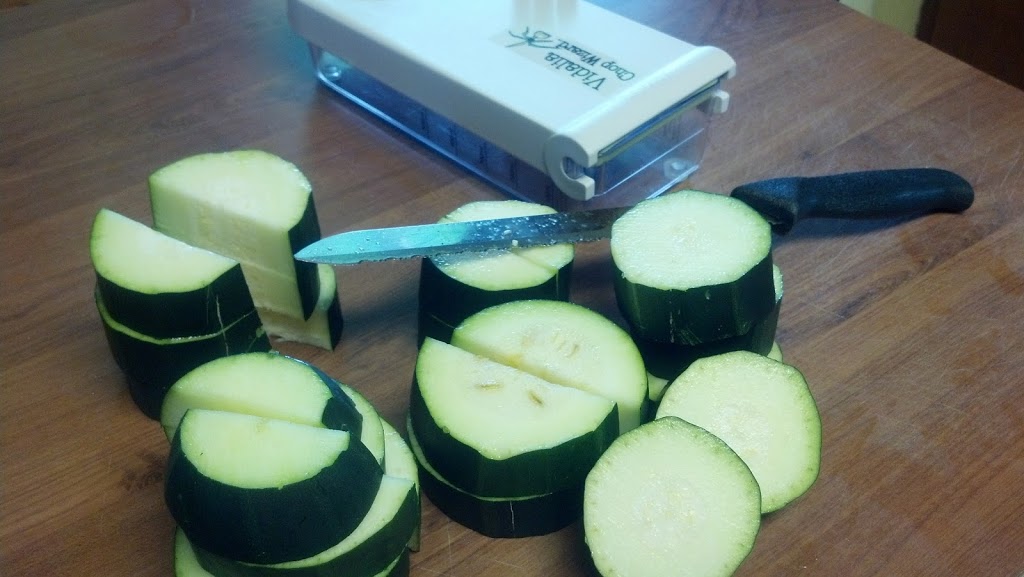
8. Zucchini—I have been harvesting and cooking zucchini all summer! I froze it three weeks: a. shredded for breads, muffins, etc. (anxious to try out my new almond flour and swerve sweetener!); b. cubed with yellow squash for casseroles and stir fries; c. sliced (also bagged with sliced yellow squash part of the time and sometimes by itself) also for stir fries, but Ray Baby likes the sliced zucchini just to steam in a little broth and season it (though he’s not the best seasoner! lol).
I am also looking forward to using three “fall” herbs:
1. Basil
2. Rosemary
3. Thyme
Though my sons would have me using four of them–and they would have to sing it: “Parsley, sage, rosemary, and thyme”–they love to follow me through the kitchen when I am cooking, carrying those four spices in their hands and waving them in my face while singing “Scarborough Fair”! Kids–never a dull moment!